How to set up a high-performance local Laravel development environment for Windows with pretty URLs (without Docker)
Local Laravel on Windows (Vagrant, Sail, Laragon) can be slow. Here's a native setup that cut our execution time from 13s to 1.5s.

#Slow setups
At Laracraft, we’ve experimented with various Windows-based local Laravel development environments, but we weren’t satisfied with the performance and usability of popular options like** Vagrant/Homestead, php artisan serve, Laravel Sail, Laragon **and others. While these tools work well for simpler Laravel projects or those with small databases, they fall short when handling more complex operations or heavier requests that demand better performance.
| Setup | Drawbacks |
|---|---|
| Vagrant/Homestead | slow, complex setup, resource intensive (CPU and Memory) |
| php artisan serve | slow, no pretty url, can only handle one request at a time (single-threaded) |
| Sail/Docker | slow, no pretty urls, very exhausting configuration when you need to run multiple apps (port forwarding), single-threaded |
| Laragon | quite good, but not as fast as our solution; you can't run multiple apps with different php versions at a time |
#Let's create a fast setup!
So we decided to go for a Laravel setup with WSL and native php,** mysql and nginx installation and configuration. Though it might be intimidating to set it up, we are really impressed by the very fast performance and the very flexible configuration. With this guide **it should be easy to setup, so this is definitely worth it!

#Requirements
Make sure your Windows version is compatible with WSL: Windows 10, Version 2004 or higher (Build 19041 or higher), or Windows 11
#Install WSL
Open your PowerShell as an Administrator and hit:
1wsl.exe --install
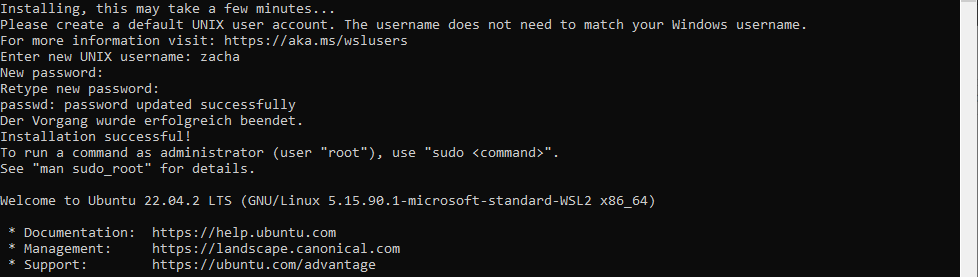
Wait for the installation to be finished, this may take a while. After that, restart your computer and when you login to your windows account, the command prompt should open automatically and** finish **the WSL installation. After that you will be asked to enter your user credentilas for WSL.
#Install PHP
Now open your WSL terminal and execute these commands one by one:
1sudo apt-get update
1sudo apt install software-properties-common
1sudo add-apt-repository ppa:ondrej/php
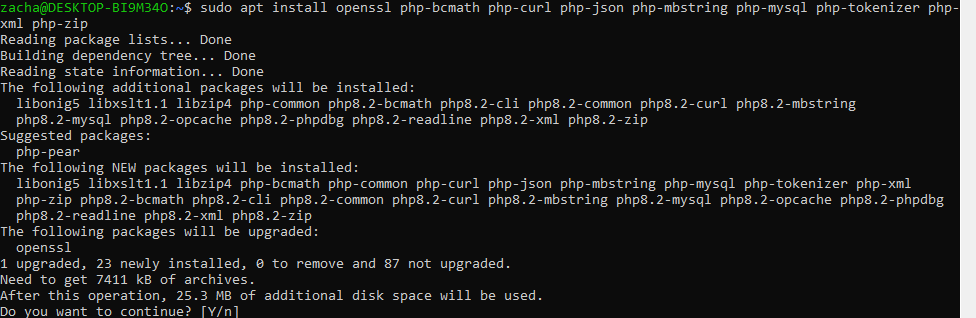
1sudo apt install openssl unzip php8.2-cli php8.2-bcmath php8.2-curl php8.2-mbstring php8.2-mysql php8.2-tokenizer php8.2-xml php8.2-zip php8.2-fpm
#Install Composer
To install composer, execute these commands one by one:
 1cd ~
 2curl -sS https://getcomposer.org/installer -o /tmp/composer-setup.php
1HASH=`curl -sS https://composer.github.io/installer.sig`
1php -r "if (hash_file('SHA384', '/tmp/composer-setup.php') === '$HASH') { echo 'Installer verified'; } else { echo 'Installer corrupt'; unlink('composer-setup.php'); } echo PHP_EOL;"
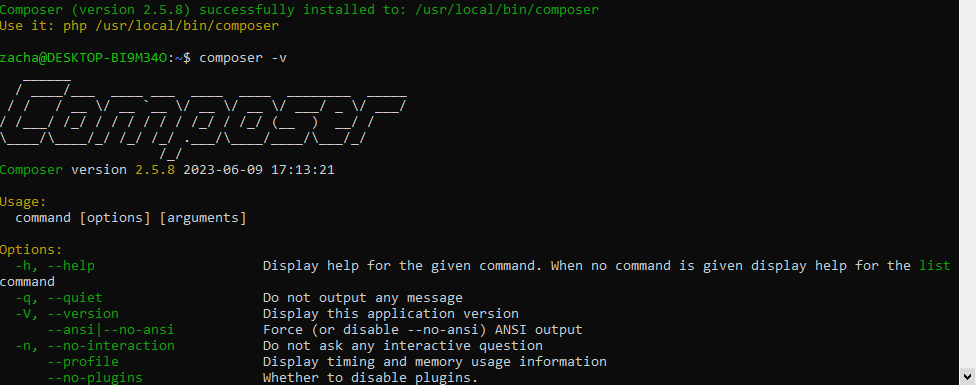
1sudo php /tmp/composer-setup.php --install-dir=/usr/local/bin --filename=composer
#Install MySQL
Now lets install MySQL:
1sudo apt-get install mysql-server
After the installation is finished, we change the root password for MySQL to password, or what ever you prefer. Therefor you have to execute mysql as root:
1sudo mysql
With this command you can change the password:
1ALTER USER 'root'@'localhost' IDENTIFIED WITH mysql_native_password BY 'password';
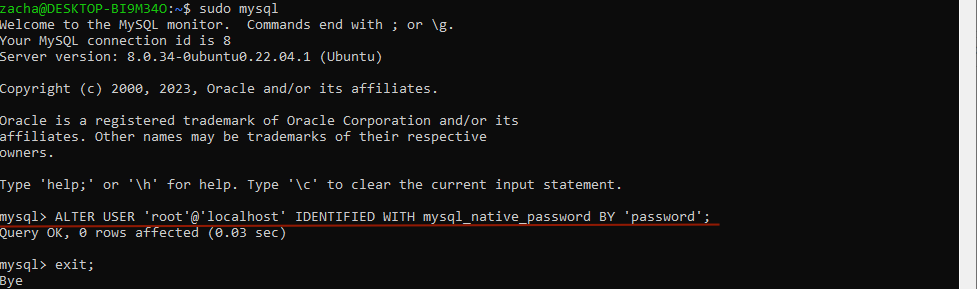
Now leave mysql with enter exit; and test the login as root with the password you set:
1mysql -u root -p
If this works, go one with the next step!
#Install Laravel
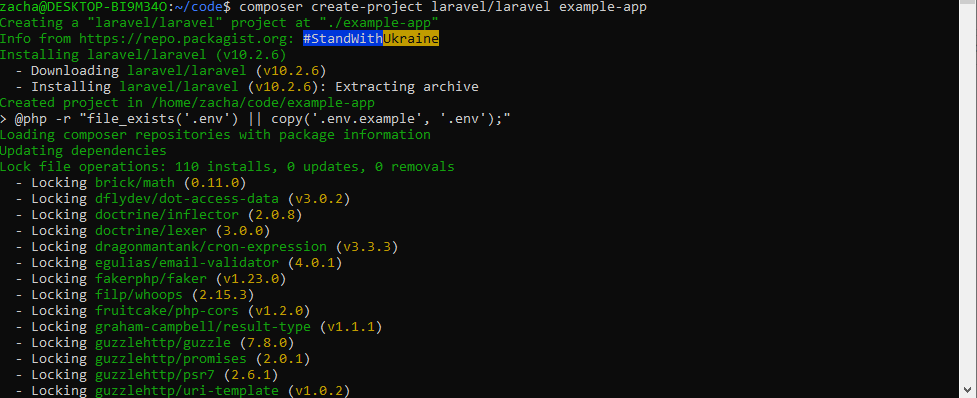
You may already have a project, but for the sake of this tutorial, we install a fresh new Laravel application:
 1cd ~
 2mkdir code
 3cd code
 4composer create-project laravel/laravel example-app
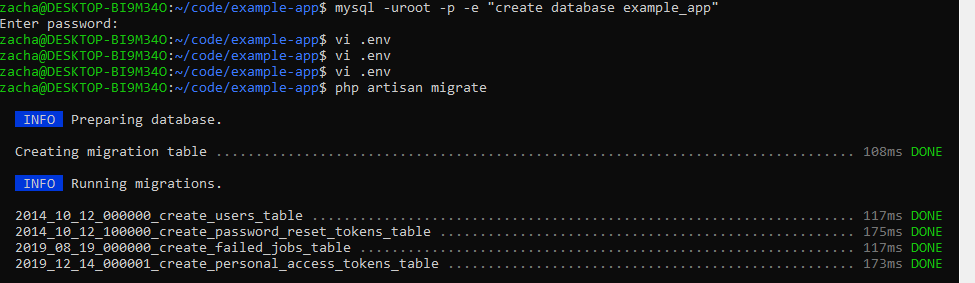
We need a database, let's create one:
1mysql -uroot -p -e "create database example_app"
Adjust your .env file and set:
 1DB_DATABASE=example_app
 2DB_USERNAME=root
 3DB_PASSWORD=password
Now lets migrate the database:
 1cd example-app
 2php artisan migrate
#Install and configure NGINX
The last thing we need now is a webserver, let's install NGINX:
1sudo apt-get install nginx
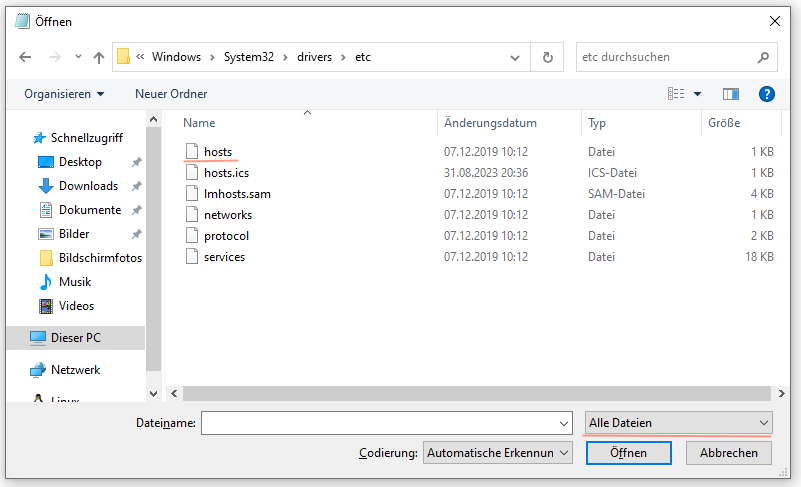
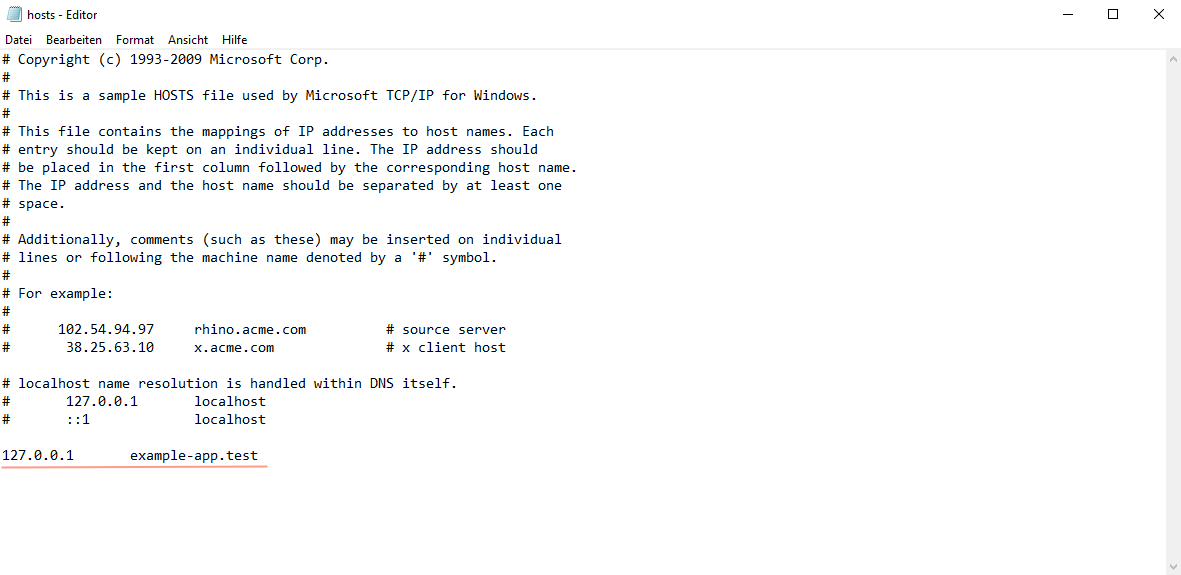
As we want to use a pretty url, make sure to add **example-app.test to your hosts file, so that when we enter it in the browser, it resolves to our local nginx. Therefor open the Editor as Administrator **and open: C:\Windows\System32\drivers\etc\hosts (make sure to list "All files", in the open file dialog, else the host file will not be shown).
Now add the following new line at the end of the file:
1127.0.0.1 example-app.test
Let's now configure nginx! Create the following file:
1sudo nano /etc/nginx/sites-available/example-app
And paste the default Laravel Nginx config:
 1server {
 2    listen 80;
 3    listen [::]:80;
 4    server_name example-app.test;
 5    root /home/zacha/code/example-app/public;
 6
 7    add_header X-Frame-Options "SAMEORIGIN";
 8    add_header X-Content-Type-Options "nosniff";
 9
10    index index.php;
11
12    charset utf-8;
13
14    location / {
15        try_files $uri $uri/ /index.php?$query_string;
16    }
17
18    location = /favicon.ico { access_log off; log_not_found off; }
19    location = /robots.txt  { access_log off; log_not_found off; }
20
21    error_page 404 /index.php;
22
23    location ~ \.php$ {
24        fastcgi_pass unix:/var/run/php/php8.2-fpm.sock;
25        fastcgi_param SCRIPT_FILENAME $realpath_root$fastcgi_script_name;
26        include fastcgi_params;
27    }
28
29    location ~ /\.(?!well-known).* {
30        deny all;
31    }
32}
Adjust the server_name, root and maybe the fastcgi_pass sockets (if you installed a differenct php version) directives to your needs!
Now enable this site:
1sudo ln -s /etc/nginx/sites-available/example-app /etc/nginx/sites-enabled/example-app
Check if nginx config syntax is correct and reload:
 1sudo nginx -t
 2sudo nginx -s reload
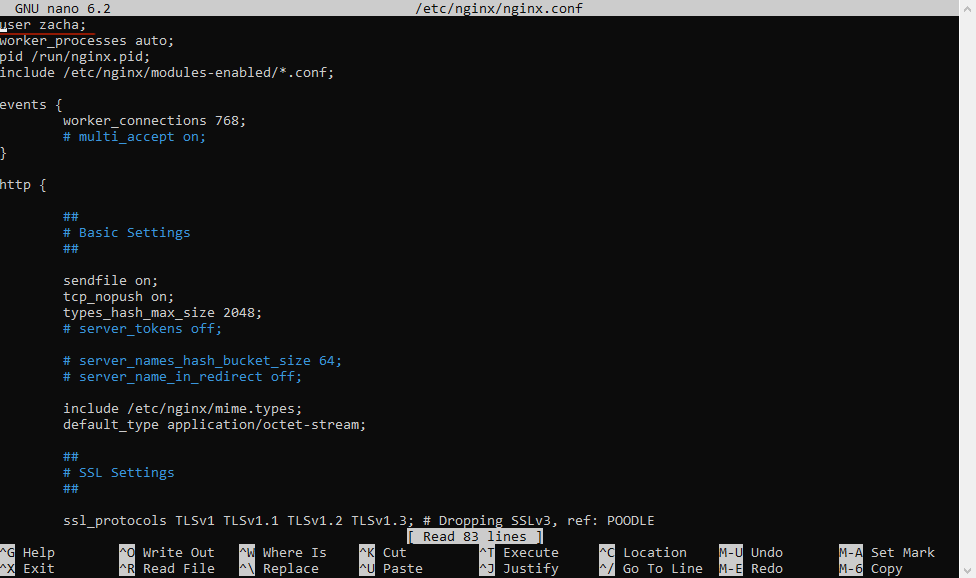
We experienced that it's the best to change nginx and php-fpm user to your current user, so you will never get file permission issues. The thing is, if you just change the rights of your curent folder to the ww-data group, you will still get issues, if new files gets created on a git pull, for instance.
So let's change nginx to your current user at the very top of the file:
1sudo nano /etc/nginx/nginx.conf
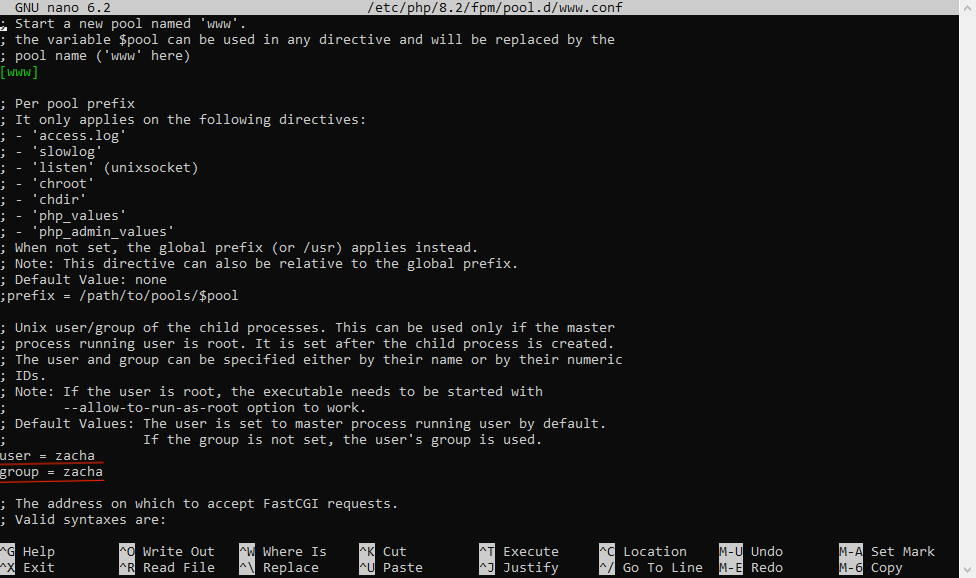
Also change fpm user and group to your current user:
1sudo nano /etc/php/8.2/fpm/pool.d/www.conf
Now restart fpm and nginx:
 1sudo service php8.2-fpm restart
 2sudo service nginx restart
#Done
Thats it, now hit http://example-app.test in your browser and enjoy these very fast response times!
We managed to reduce execution time on complex operations from 13s down to 1,5s, which is an increase of about** 800%**!